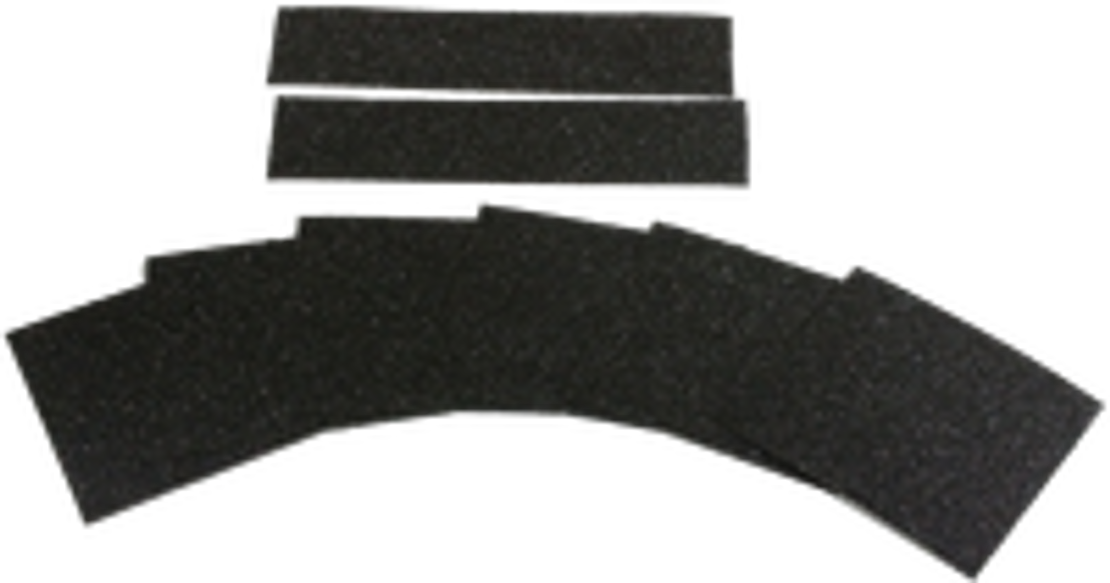
NEW Omni Table Non-Skid Replacement Kit
Replacing the non-skid on your Omni table can make it look new again. The non-skid fades, peels, and tears over time.
The Omni table non-skid kit is easy to install. Just follow the directions below.
- Remove old non-skid from table. Do this by peeling off the old non-skid. A razor blade may come in handy as sometimes the old non-skid can tear.
- Place new non-skid on table. Remove the backing and place the new non-skid on the part you are working on. The new non-skid should hang over 3 sides of the foot kickers and 2 sides of the cervical elevation pedal.
- Trim excess from new non-skid. Trim the excess non-skid that is hanging over the sides using a razor blade. Just place the side of the blade against the metal and trim away.
You can purchase a new Omni table non-skid kit here: http://chiropracticconsignment.com/omni-table-non-skid-kit/
